Managing Vendors in Purchase Order Management Plugin helps you keep track of supplier information and makes buying things easier.
Vendors are the companies or people that your business buys products or services from.
Keeping correct vendor records is really important for handling orders, payments, and making sure the supply chain runs smoothly.
Steps to create a vendor
Step 1: Navigate
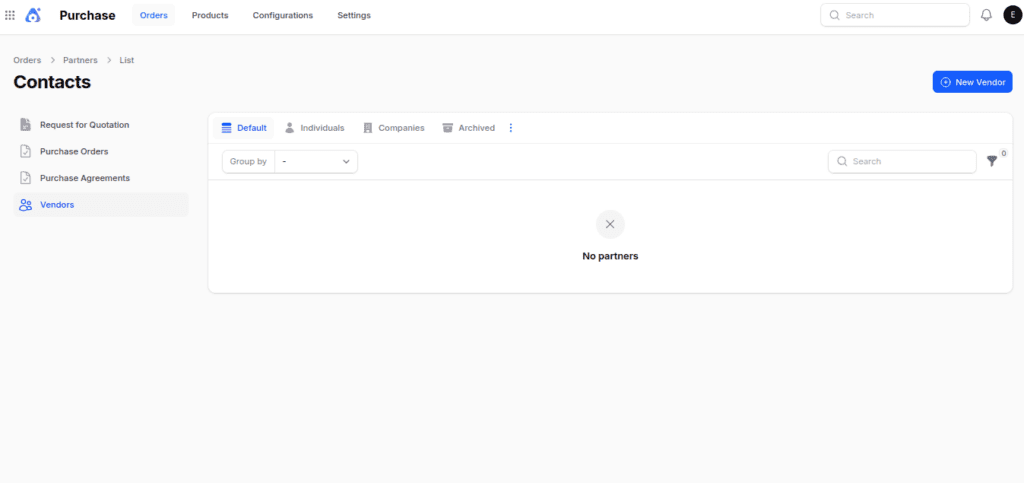
Go to Purchases → Orders → Vendors → New Vendor.
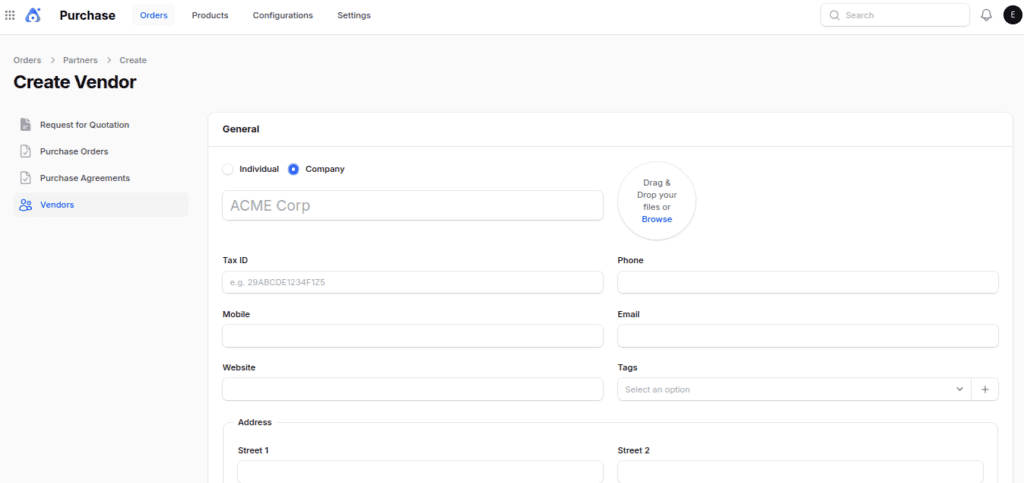
Step 2: Fill out the form with the following details:
General section
- Individual or Company → Choose the vendor type. If “Company” is selected, the Company field is hidden to prevent duplication.
- Name → Name of the contact person or vendor.
- Company → Associated company (optional if type is company).
- Tax ID → Vendor’s tax identification number.
- Job Title → Position of the contact person (If you select company, then the job title field will go away).
- Phone / Mobile → Vendor contact numbers.
- Email → Primary contact email.
- Website → Vendor website.
- Title → Add titles (Mr., Ms., etc.).
- Tags → Tags for classification.
- Address → Full address including street, city, state, ZIP, and country.
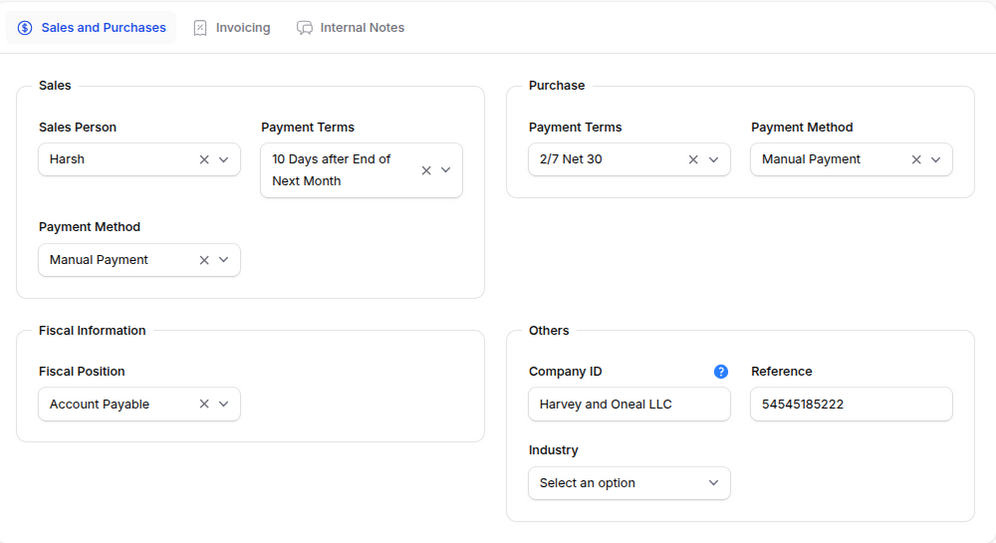
Purchase Section
- Payment Terms → Define when the vendor expects payment (Immediate, Net 30, etc.).
- Payment Method → Preferred method of payment (bank transfer, cheque, etc.).
Fiscal Information
Fiscal Position → Select appropriate tax/accounting rules for this vendor.
Other Information
- Company ID → Internal identifier for the vendor.
- Reference → External identifier used for syncing.
- Industry → Vendor’s business sector.
Invoicing Section
- Invoice Sending Method → Choose between download, email, or post.
- eInvoice Format → Select electronic invoice format if applicable.
Automation Subsection
- Auto Post Bills → Controls automatic posting of bills:
- Always → Bills auto‑validated and posted.
- Ask After 3 Validations Without Edit → Posts automatically if unchanged after three validations.
- Never → Requires manual validation.
- Ignore Abnormal Invoice Amount → Skip warnings for unusually large/small totals.
- Ignore Abnormal Invoice Date → Bypass alerts for irregular invoice dates.

Step 3: Save Vendor
Click Create to finalize.
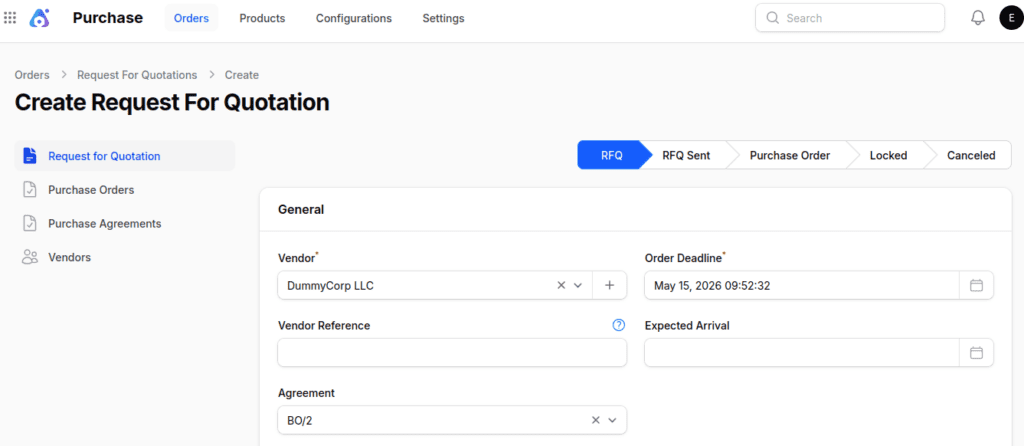
Note:
You can also create new vendors directly during RFQ creation by clicking the “+” icon in the Vendor field. This shortcut allows you to add a supplier without leaving the RFQ form, ensuring a smoother workflow.
Post‑Creation Vendor Management
After creating a vendor, you are redirected to the View Vendor page.
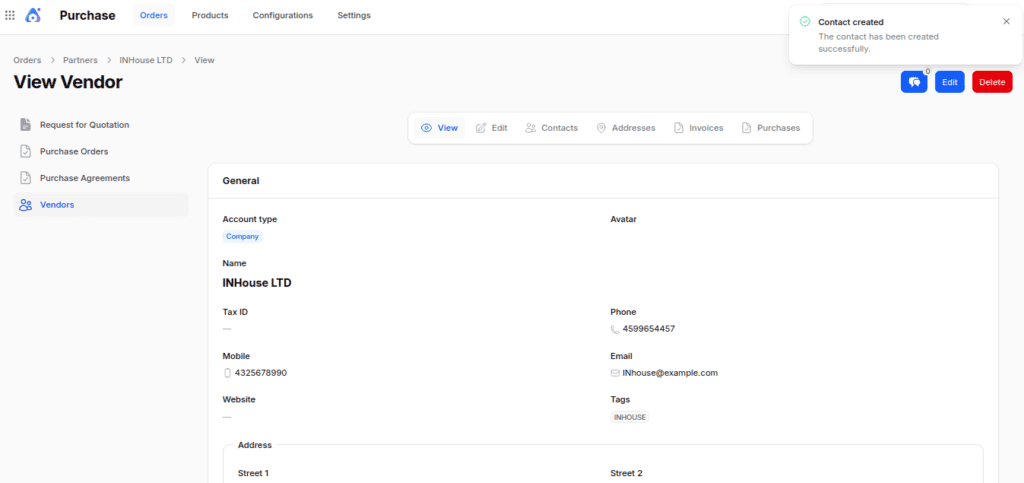
- Edit Vendor → Modify vendor details such as contact info or fiscal data.
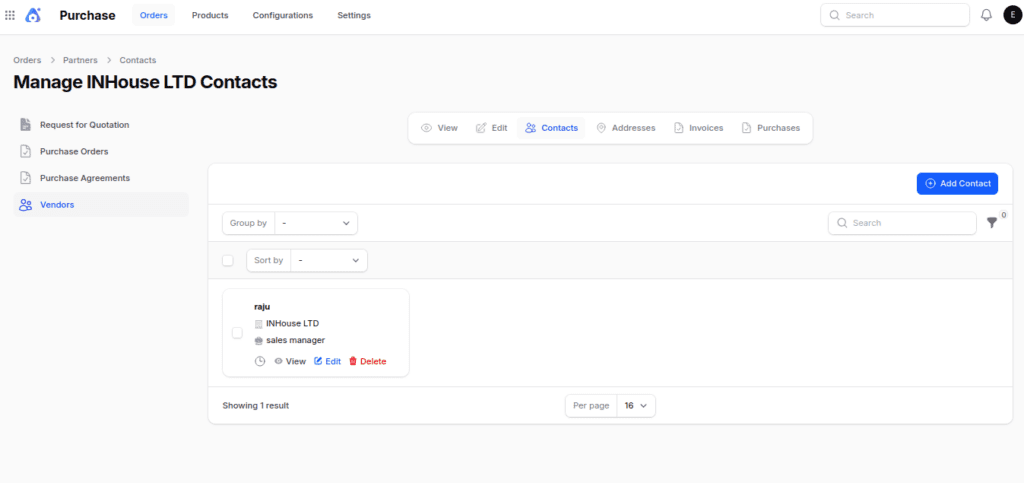
- Contacts Tab → Add multiple representatives with name, email, phone, and title.
- Navigate to the Contacts tab.
- Click Add Contact to add additional contact persons with fields like name, email, phone, and title.
- Use Case: Helpful when vendors have multiple representatives.
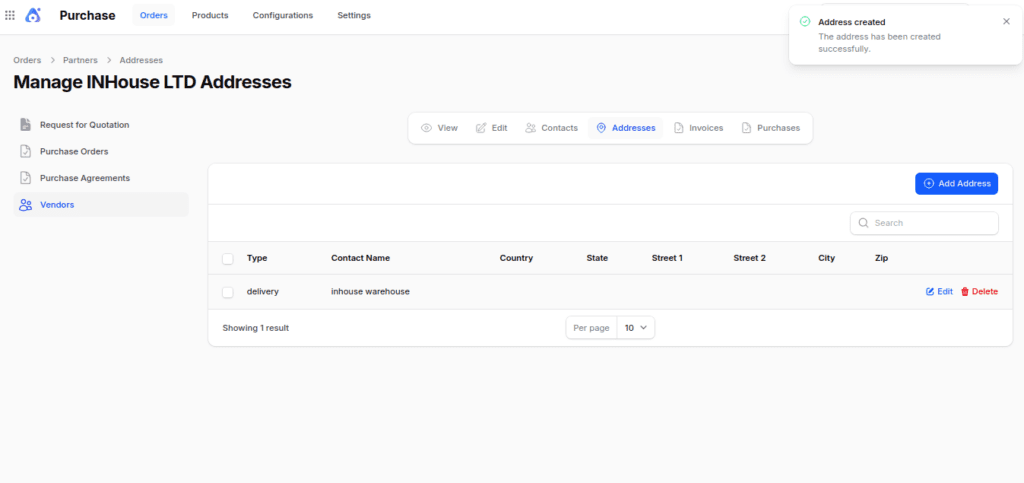
- Address Tab → Add addresses (Permanent, Invoice, Delivery, etc.).
- Go to the Address tab.
- Click Add Address to define types like Permanent, Invoice, Delivery, etc., and fill in complete address details.
- Invoices → View all invoices linked to the vendor.
- Purchases → Track all purchase orders associated with the vendor.
Using Vendors in RFQs
Step 1: Navigate to RFQ Form
Go to Purchase → Orders → RFQ → New RFQ.
Step 2: Select Vendor
In the Vendor field of the General Section, choose the supplier.
Step 3: Continue RFQ Creation
Fill in product details, quantities, and pricing as usual.
Final words
Vendor Management in AureusERP makes it easier for businesses to keep track of their suppliers and improve buying processes.
It gathers all vendor details in one place, which helps with communication and purchasing.
Keeping payment, tax, contact, and bank information all in one spot helps organizations be more accurate and cut down on manual tasks.
This leads to better management of suppliers and finances.
Using vendor records with RFQs and purchase orders makes procurement processes easier and faster. This helps purchasing teams to handle suppliers better.

Be the first to comment.