This guide explains how to create and manage customers within the Sales Management area of Aureus ERP. It provides clear steps to keep client records organized and efficient.
The Customer feature in the Sales plugin of Aureus ERP, an open source ERP solution, helps businesses keep track of client information by collecting personal, financial, and sales-related details.
Steps to create a Customer
Follow the steps below to create and manage customer records efficiently in Aureus ERP.
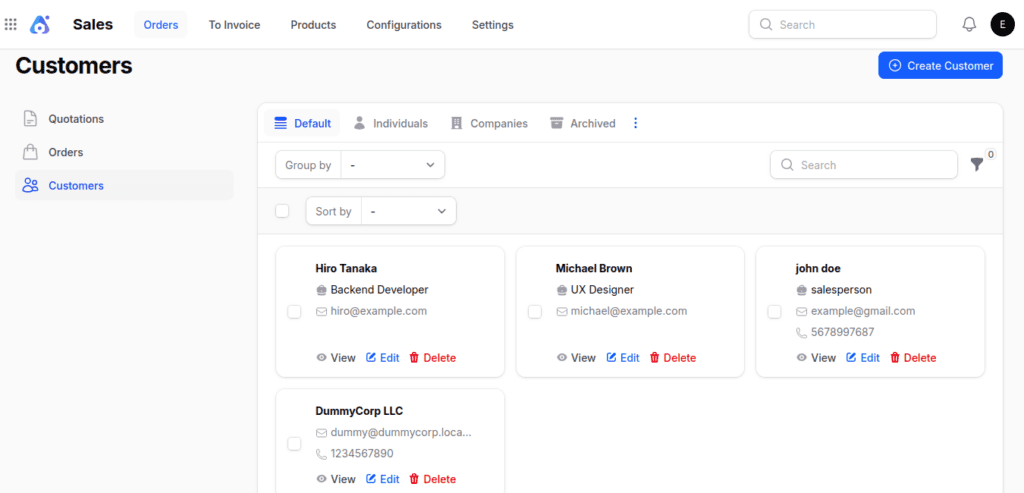
Step 1: Navigate to the Customer Page

Step 2: Fill Out the Customer Form
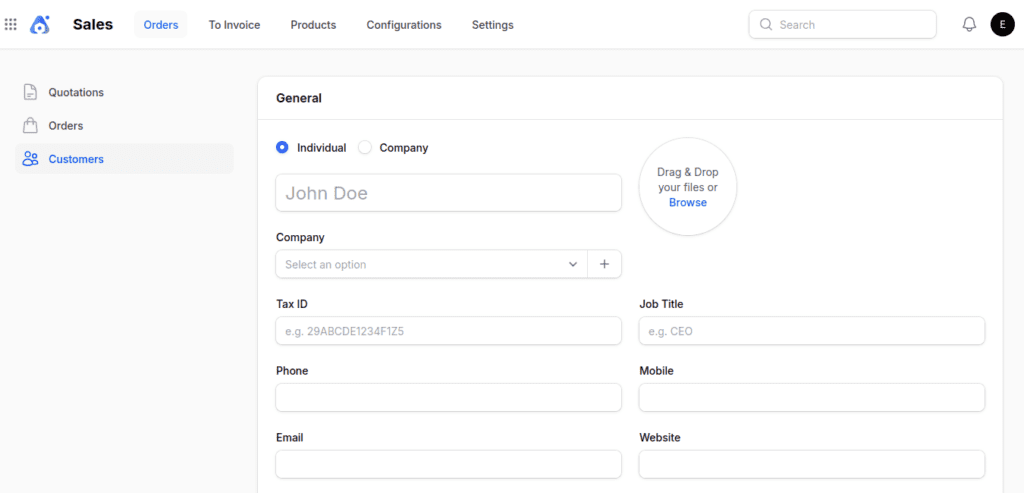
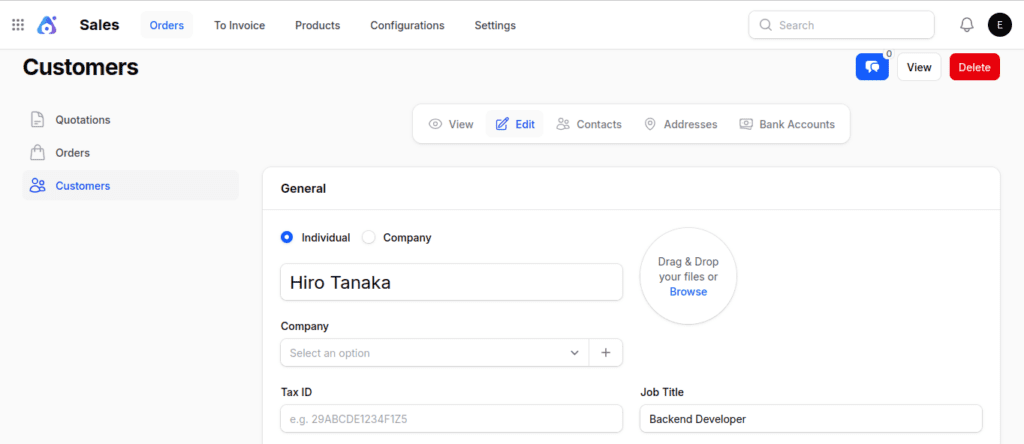
1. General Section
- Individual or Company → Choose whether the customer is an individual or a business entity.
- If Company is selected, the Company field disappears to avoid redundancy.
- Name → Full name of the individual or contact person.
- Company → Select or create the associated company, if applicable.
- Tax ID → Enter the official tax identification number.
- Job Title → Job designation of the individual.
- Phone/Mobile → Primary contact numbers.
- Email → For communication and invoicing.
- Website → Official website of the customer or company.
- Title → Prefix like Mr., Ms., Dr., etc.
- Tags → Categorize or label the customer.
- Address → Complete physical address (Street, City, Zip Code, State, Country).
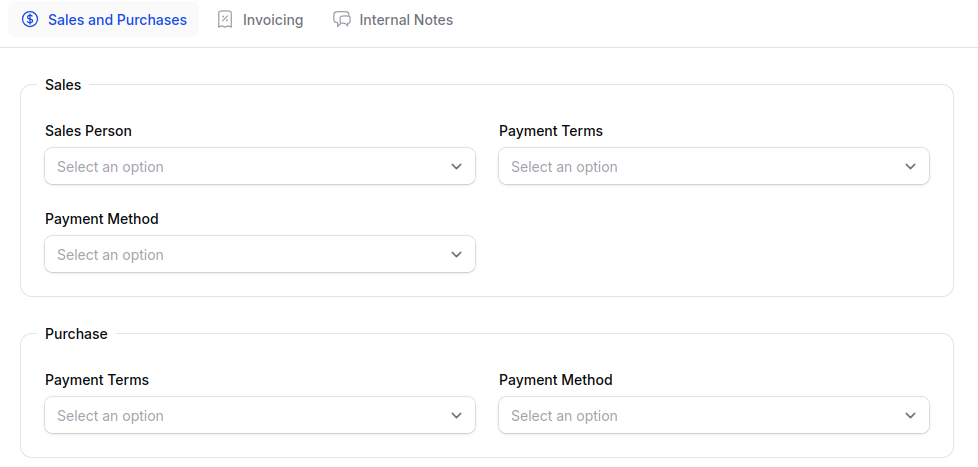
2. Sales and Purchase Section
Click on the Sales and Purchase option to provide the required sales and purchase information.
Sales Subsection
- Sales Person → Assign the internal user responsible for this customer.
- Payment Terms → Define payment timelines (e.g., Net 30, Immediate).
- Payment Method → Preferred payment method (bank transfer, cheque, etc.).
Purchase Subsection
- Payment Terms → Default payment timeline when buying from this customer.
- Payment Method → How your company intends to pay this customer if they’re also a vendor.

Fiscal Information Subsection
- Fiscal Position → Determines applicable tax and accounting rules based on location or entity type.
Others Subsection
- Company ID → Internal reference code for tracking.
- Reference → Secondary identifier (vendor/customer code).
- Industry → Business sector for reporting and segmentation.


3. Invoicing Section
Click on the invoicing option to provide the required sales and purchase information.
Customer Invoices Subsection
- Invoice Sending Method → Choose Download, Email, or Post.
- eInvoice Format → Specify electronic invoicing format for compliance.
- If selected, two extra fields appear:
- Peppol Address → Unique identifier in the PEPPOL network.
- Endpoints → Technical connection details for invoice delivery.
- If selected, two extra fields appear:


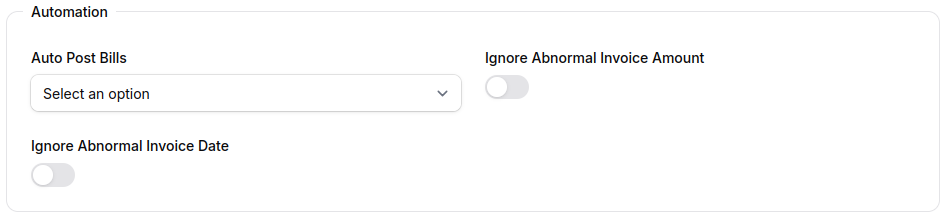
Automation Subsection
- Auto Post Bills → Options: Always, Ask after 3 validations, or Never.
- Ignore Abnormal Invoice Amount → Bypass warnings for unusually high/low amounts.
- Ignore Abnormal Invoice Date → Ignore mismatched invoice date validations.

Action Buttons
At the bottom of the form, you’ll find:
- Create → Saves and creates the customer record.
- Create & Create Another → Saves the current record and opens a new form.
- Cancel → Discards changes and exits.
After Customer Creation
After you hit Create, you’ll be taken to the View Partner page. This page gives you a complete look at the customer’s details and has tools to help you manage contacts, addresses, and bank accounts.
Edit Partner
To change the customer’s personal, company, or financial information, just click the Edit Partner button. This is great for fixing mistakes or keeping records up to date.

Contacts
- Click on the Contacts tab to open the Manage Contacts page.
- Use the Add Contact button to launch a modal form.
- This form replicates the customer creation format, allowing you to:
- Add multiple points of contact for a customer.
- Capture details like name, email, phone, title, etc.

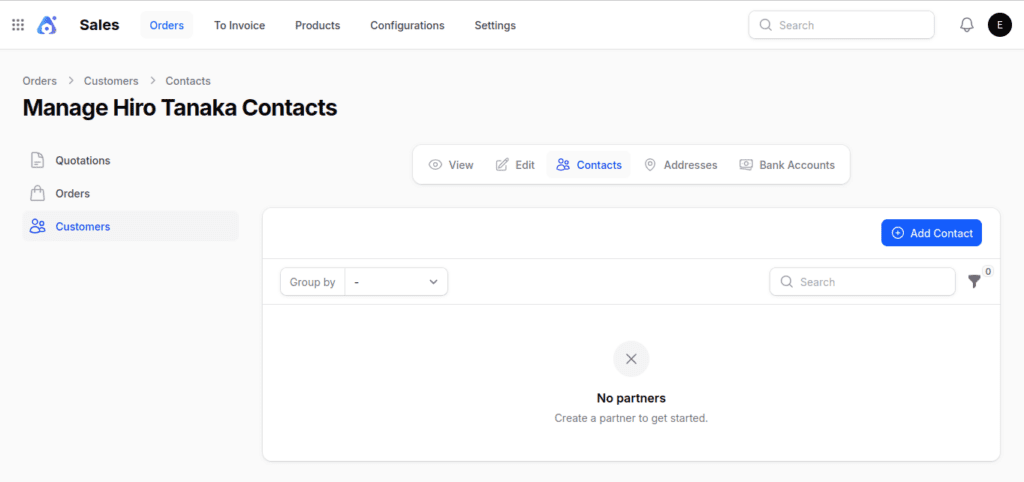
Use Case: Helpful for organizations with multiple contact persons.
Address
- Click the Address tab to navigate to the Manage Address page.

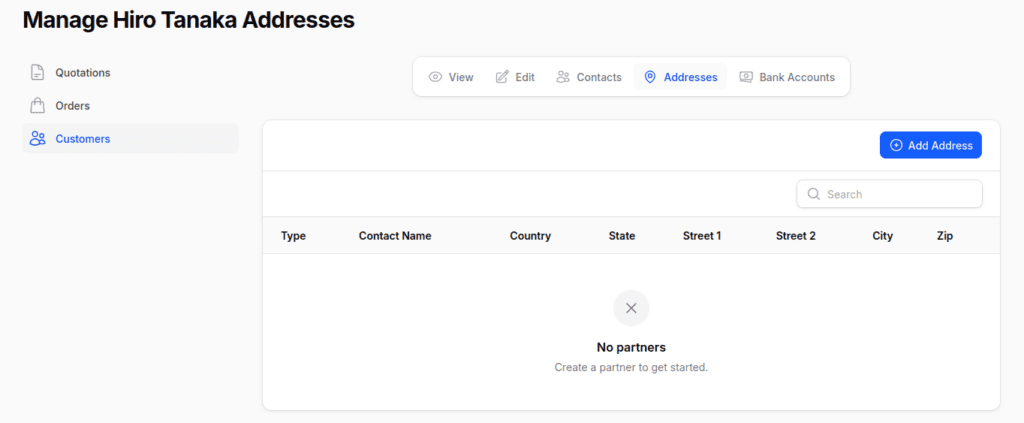
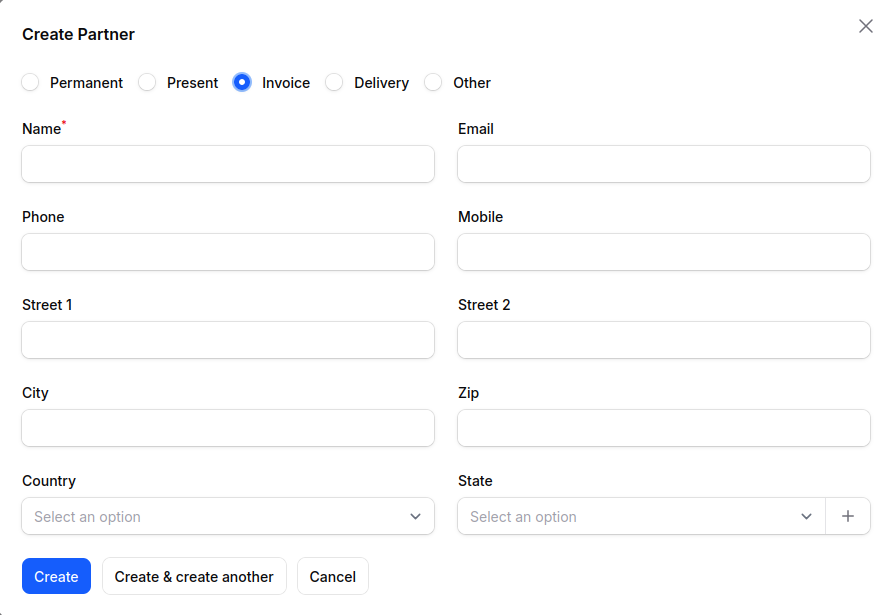
- Click Add Address to open a modal form with:
- Toggles: Define the type of address — Permanent, Present, Invoice, Delivery, or Other.
- Fields: Name, Email, Phone, Mobile, and full Address Details (Street, City, Zip Code, State, Country)

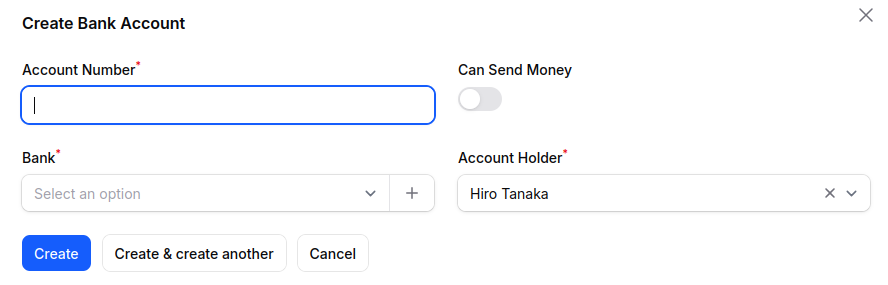
Bank Accounts
- Navigate to the Bank Account section to manage financial details.
- Click New Bank Account to open a modal form with the following fields:
- Account Number: Unique identifier of the customer’s bank account.
- Can Send Money: Enable if this account can be used for outbound payments.
- Bank: Choose from existing banks or click ➕ to create a new one.
- Account Holder: Select the relevant customer from the dropdown.

Final words
Aureus ERP has a Customer feature that helps businesses collect and manage client information in a neat and organized way this includes personal details, billing preferences, and financial records.
By sticking to the steps provided, customer profiles remain complete, correct, and ready to make sales transactions go smoothly.
Aureus ERP helps you keep track of contacts, addresses, and bank accounts all in one place. This makes it easier to manage information, improve relationships, and make businesses run better.
It’s built on a PHP open source ERP system, which means it can grow with your needs, be customized, and easily connect with other systems.
This way, businesses improve efficiency in managing customers and stay prepared for future needs.