A Receipt records the inbound movement of goods from a supplier or vendor into your warehouse.
It confirms that products ordered are physically received and ensures your stock levels are updated accurately.
Why It Matters
Receipts are critical because they:
- Ensure accuracy: They validate that purchased goods match what was ordered.
- Update stock: Inventory reflects real-time availability once receipts are confirmed.
- Provide traceability: They link directly to purchase orders, creating a clear audit trail.
So without receipts, warehouses risk discrepancies between expected and actual stock, leading to errors in procurement, sales, and reporting.
Ways to Create Receipts
Receipts can be created in two ways:
1. Automatically
- When a Purchase Order (PO) is confirmed, the system generates a receipt automatically.
- This ensures every inbound order has a linked receipt without manual intervention.
Steps to Create a Receipt (Automatically)
- Navigate to the Purchase module.


- Create an RFQ/Purchase Order from the Purchase module.
- After confirming the Purchase Order, locate the Receipt option in the middle of the page.

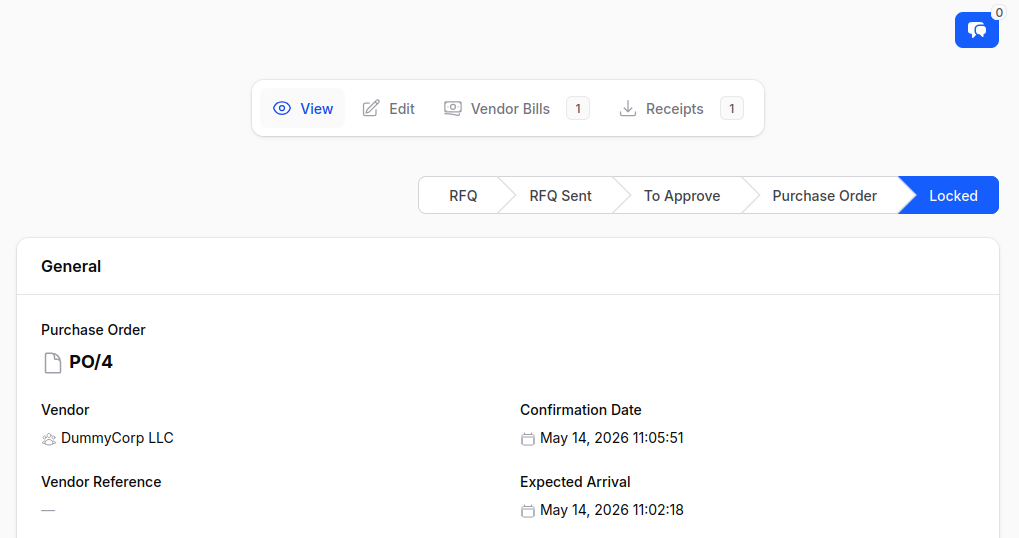
- So click the Receipt option → You are redirected to the Receipt page where the record is created automatically.
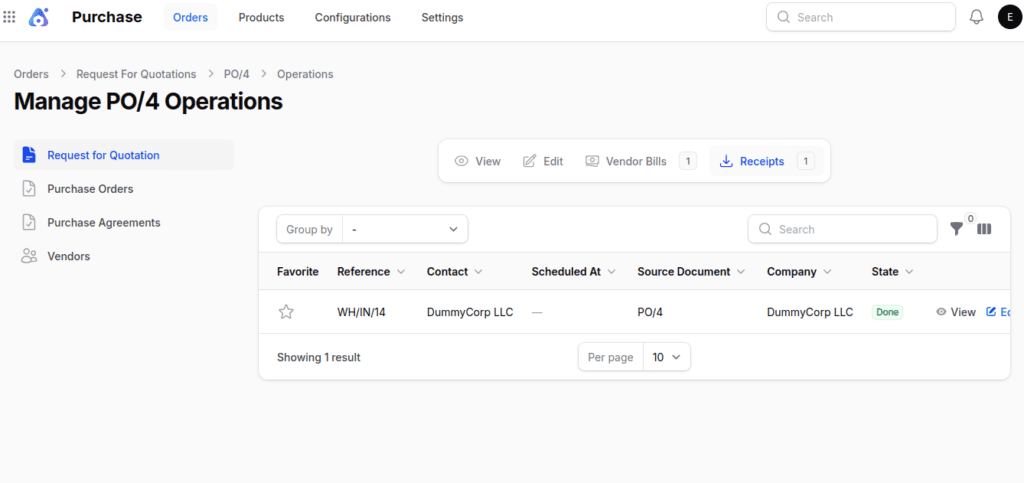
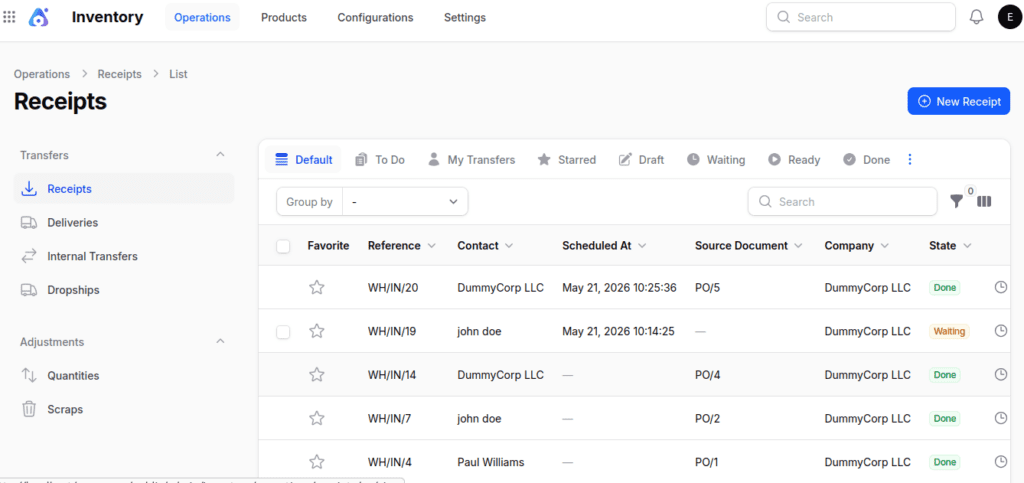
- Alternatively, you can locate the receipt in the Inventory module by navigating to Operations → Receipts, where it will be listed under its corresponding Purchase Order number.
2. Manually
- Users can create a receipt directly in the Inventory → Operations → Transfers → Receipts menu.
- Useful for ad-hoc inbound movements or adjustments not tied to a PO.
Steps to Create a Receipt (Manual Method)
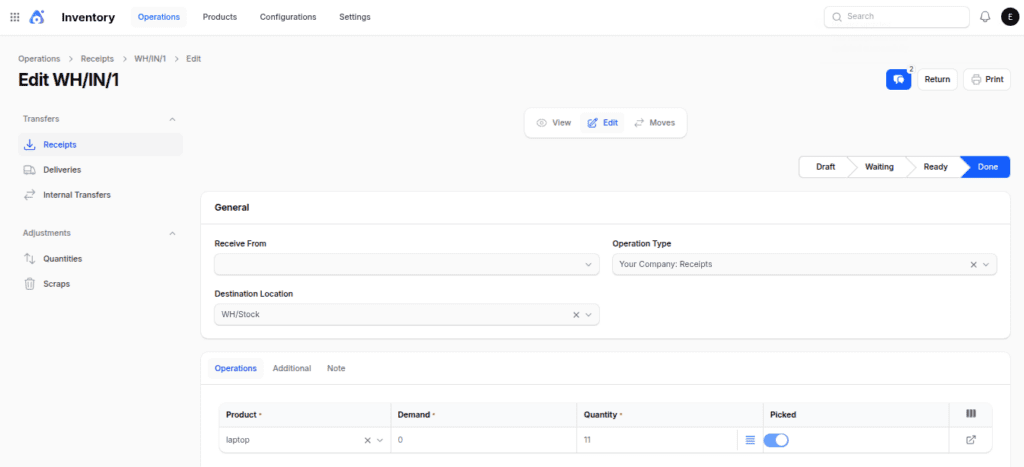
Step 1: Navigate to Inventory → Operations → Transfers → Receipts as shown below:

Step 2: Fill in the following details:
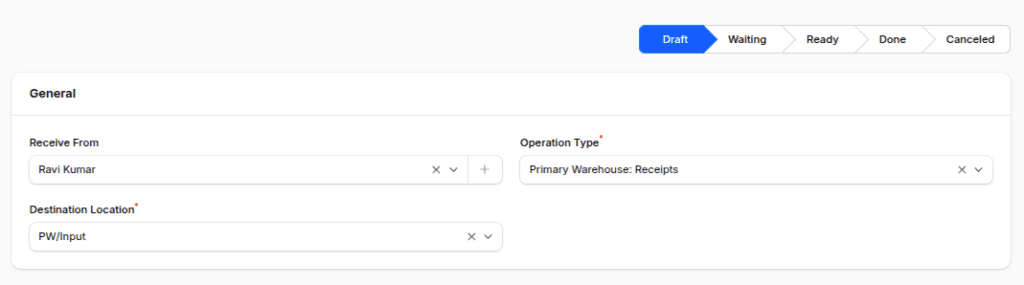
1. General Section
- Receive From: Select the vendor or supplier sending the goods.
- Operation Type: Preselected based on your warehouse configuration (e.g., Primary Warehouse: Receipt).
- Destination Location: Preselected warehouse input location (e.g., Primary/Input).

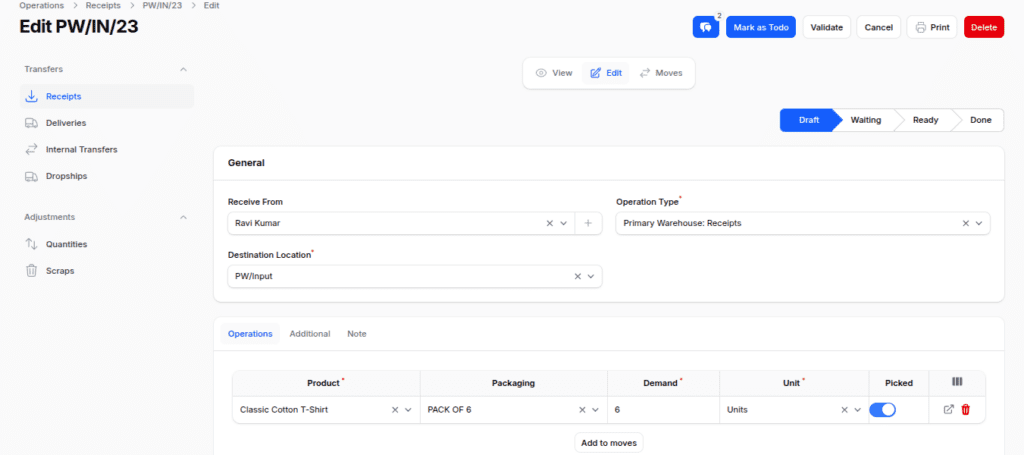
2. Operations Section
To add products:
- Click Add to Moves, then select:
- Product: Choose the product being received to manage product management.
- Packaging: Choose the packaging type (e.g., Box, Crate, Pallet).
- Demand: Enter the expected quantity to receive.
- Unit: Select the unit of measure (e.g., Units, Dozens).
- Picked: Toggle to mark the product as picked.
- You can add multiple product lines here.
3. Additional Section
- Responsible: The user handling the receipt process.
- Scheduled At: The planned date/time of receipt.
- Source Document: Auto-linked purchase order or reference document.

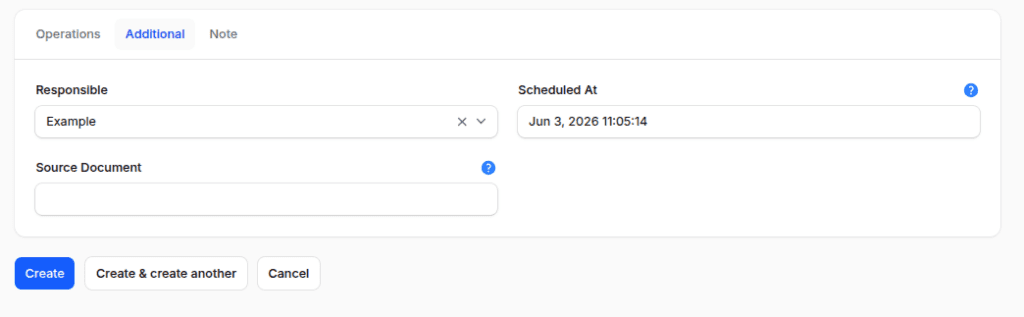
Step 3: Action Buttons:
- Create – Save and open the receipt record.
- Create & Create Another – Save and open a new blank form.
- Cancel – Discard and return to list view.
Receipt Workflow Actions
So once created, you are redirected to the Receipt View Page, which includes:

- View: View all receipt details.
- Edit: Modify details in draft state.
- Mark as To Do: Changes the status from Draft → Ready, validating stock availability.

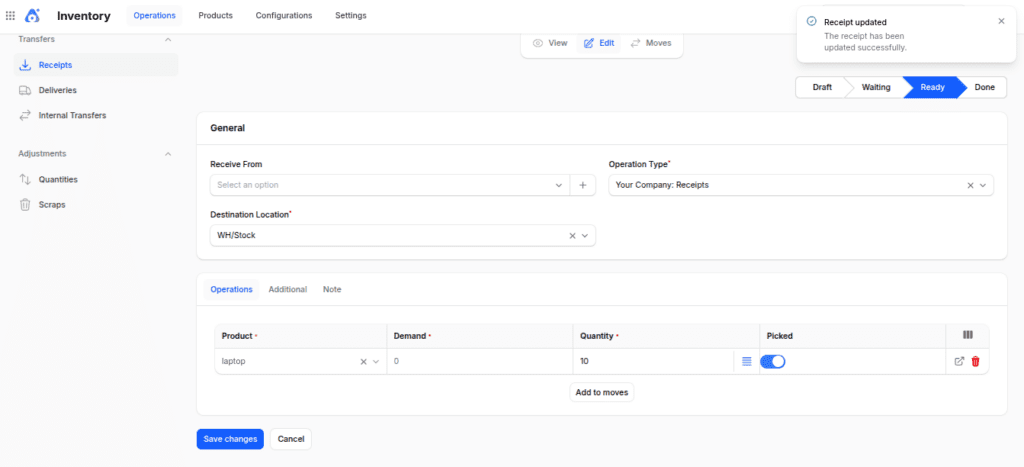
- Validate: Confirms the receipt and updates inventory (status becomes Done). Fields become read-only.
- Moves: Review all product moves linked to the receipt.


- Return: Available after validation — creates a reverse receipt (delivery).
- Cancel / Delete: Stop or remove the receipt record.
Final Words
Receipts are the backbone of accurate warehouse management. Whether created automatically through purchase orders or manually for direct inbound entries, they ensure your inventory reflects reality.
So by validating receipts, you maintain control, traceability, and confidence in your stock levels.