Creating Pages and Blogs in Aureus ERP is a simple process that allows you to manage website content directly from the admin panel.
The built in content editor offers a user friendly interface where you can format text, insert images, and more without needing any coding skills.
Whether you’re building a brand presence, providing customer support information, or publishing regular updates, Open Source Aureus ERP makes content creation efficient and centralized, helping businesses maintain a professional and updated web presence.
This guide explains how to create pages and blogs in Aureus ERP. To get started, you first need to install the Blog plugin in ERP system.
Installing the Blog Plugin in Aureus ERP
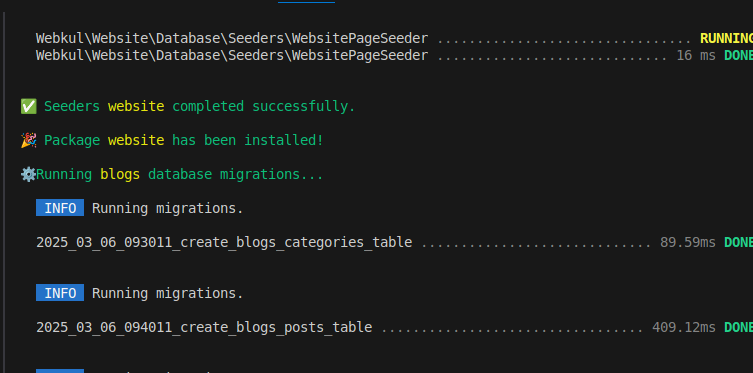
The Installation of blog plugin in Aureus ERP System is a quick process that adds blog management features to your system. Once installed, it allows you to create, edit, and publish blog posts directly from the admin panel.
Since the blog feature depends on the website plugin, installing the blog plugin will automatically install the website plugin as well.
Start the Server
After you’ve successfully installed the Blogs plugin, you need to start the development server to view your blog in the browser.
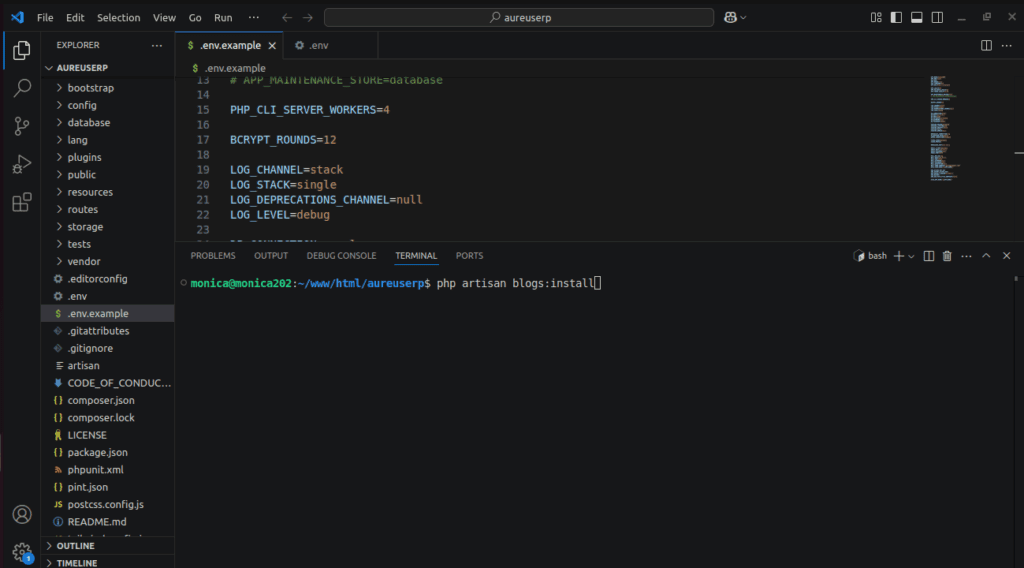
Run the command in your terminal:
php artisan serve
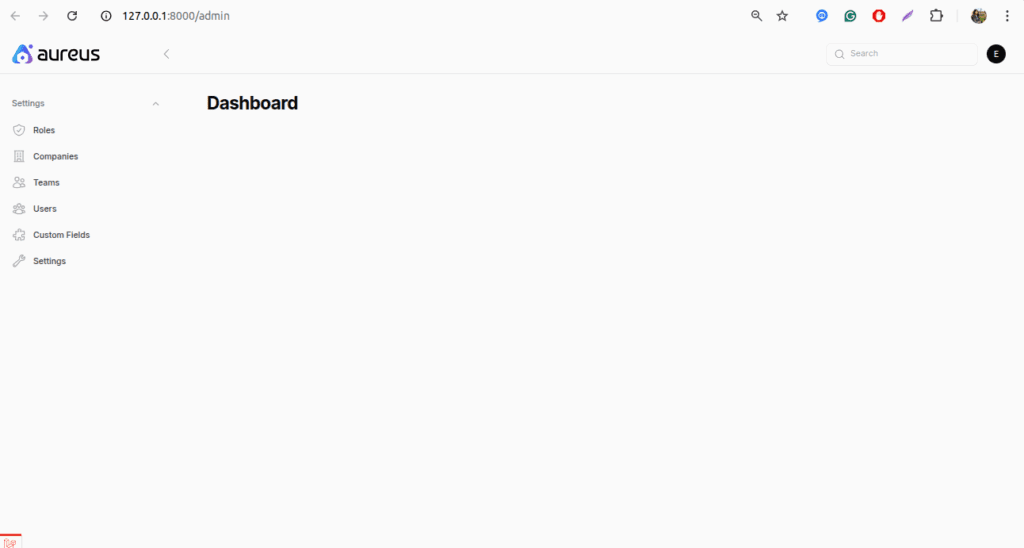
Open the Admin Panel
Once your server is running, open your browser and go to the search bar. Type the following URL to access the admin panel: 127.0.0.1:8000/admin
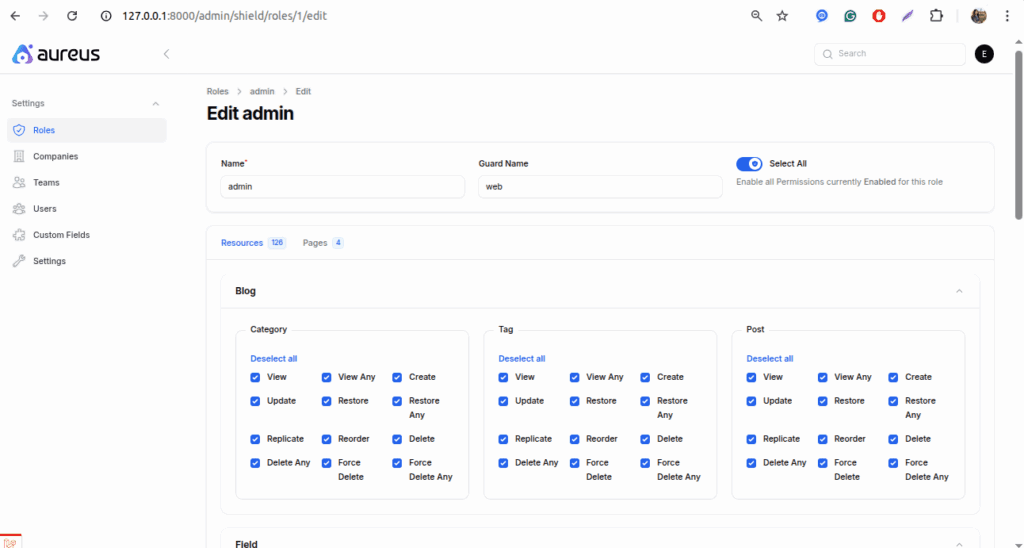
Set Up Admin Permissions
To access and manage blog and website features, you need to update admin panel settings. Follow these steps:
Settings >> Roles >> Select All (Toggle Button) >> Save Changes.
After saving, you will see the “Website” sections appear on your dashboard. You’re now ready to manage blogs and pages, and more.
Set Blog Categories and Tags
To organize your blog content, you need to set up categories and tags from the Website settings.
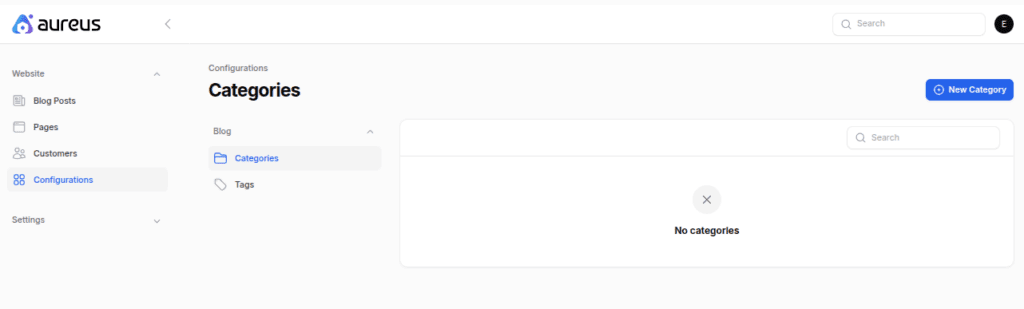
How to Create a New Category?
Categories help you organize blog posts by topic or type.
Website >> Configuration>> Categories >> New category
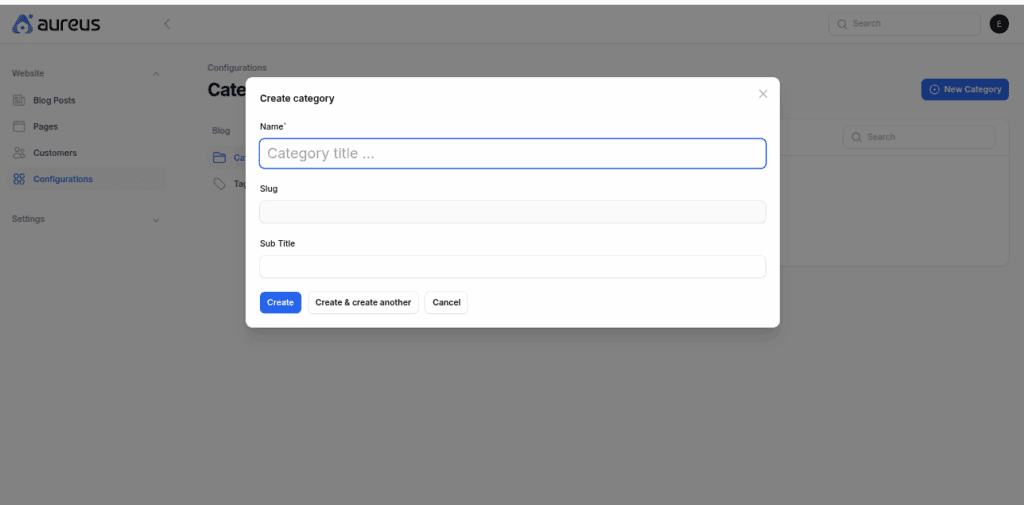
Fill in the required fields:
Name: The name of the category (e.g., News)
Slug: A short URL friendly version (e.g., news)
Sub Title: A short description or label for the category
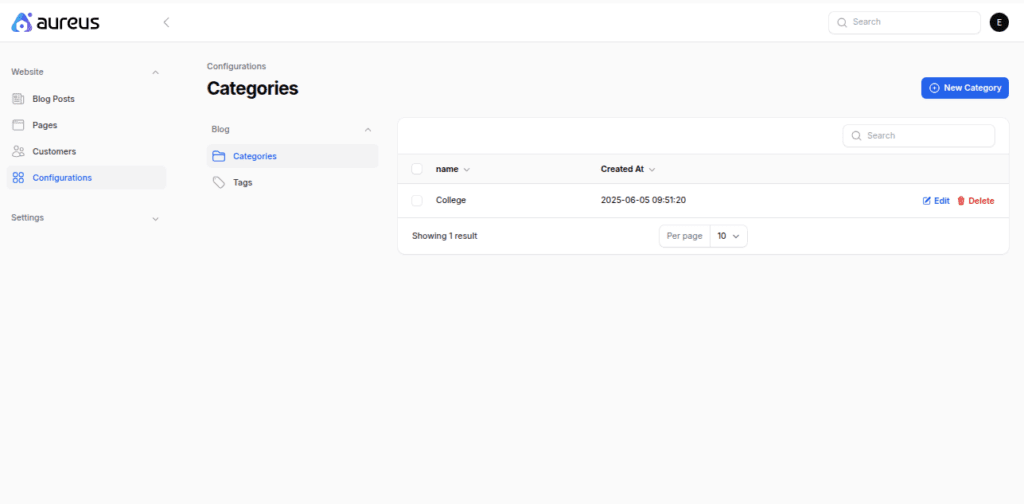
Click “Create”.
Your new category is now added and ready to use in blog posts.
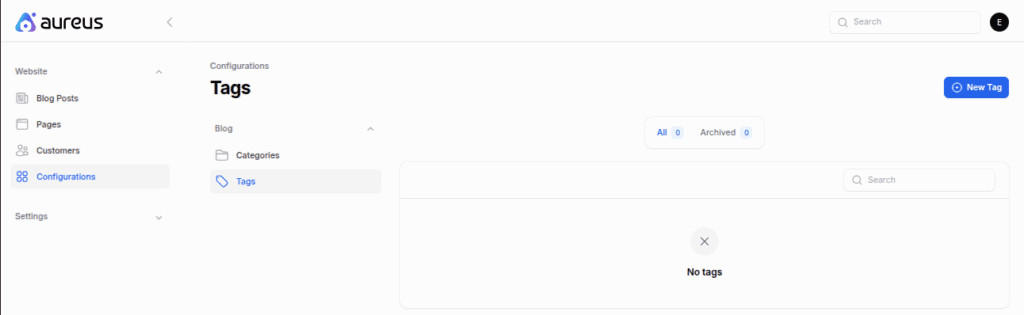
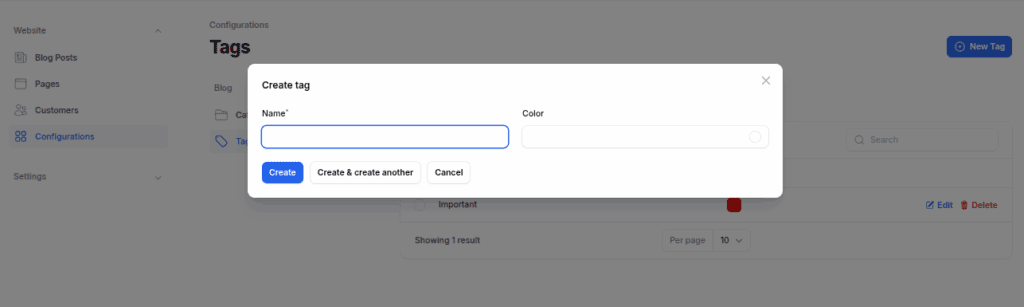
How to Create a New Tag?
Tags are used to highlight keywords or topics in a post.
Website >> Configuration>> Tags >> New Tags
Fill in the required fields:
Name: The name of the Tags (e.g., Important)
Color: The name of colour(e.g., Red)
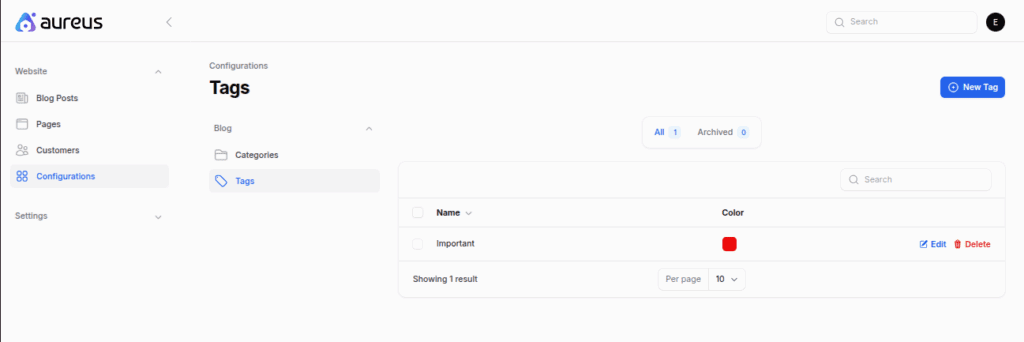
Click “Create”.
Your new tags is now added and ready to use in blog posts.
Your new Tags are now added and ready to use in blog posts.
How to create Pages and Blogs?
Create Pages in Aureus ERP
Pages are custom web pages you create within the Aureus ERP system to share information with your website visitors. Pages are static, meaning the content doesn’t change often.
You can create, edit, and manage them easily through the admin panel.
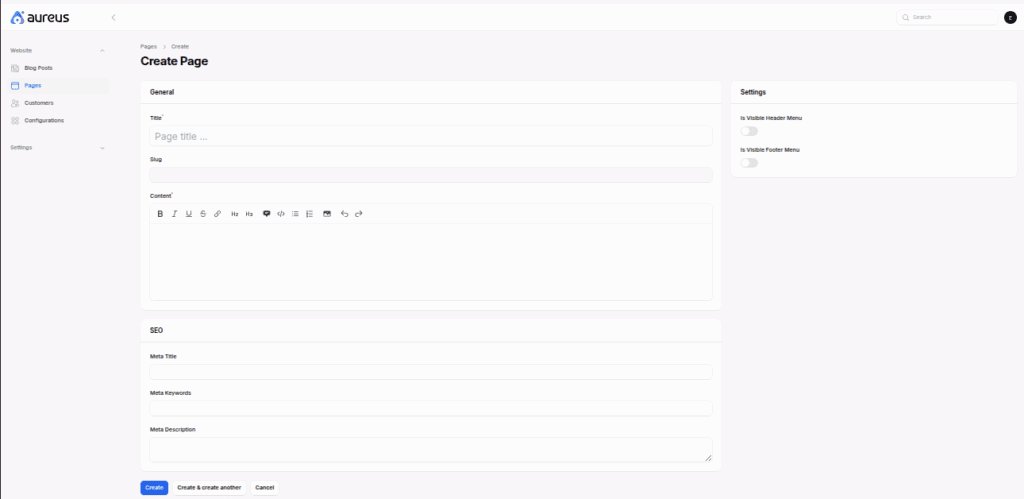
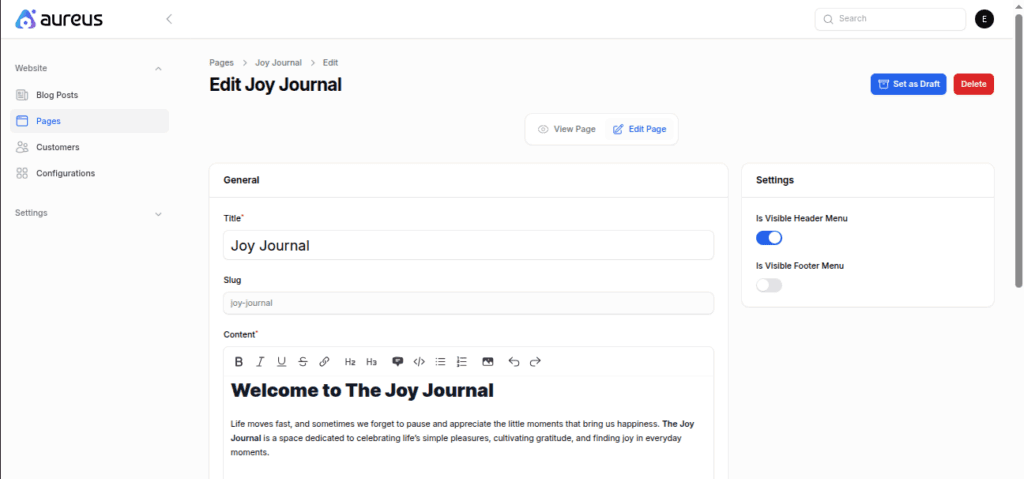
Website >> Pages >> New Page
Fill in the required details:
Title: The name of your page.
Slug: URL friendly version.
Content: Write your page content using the built in editor.
Meta Title & Description: Useful for SEO.
Settings: Manage Header/Footer by given option of enable & disable.
Click “Create”.
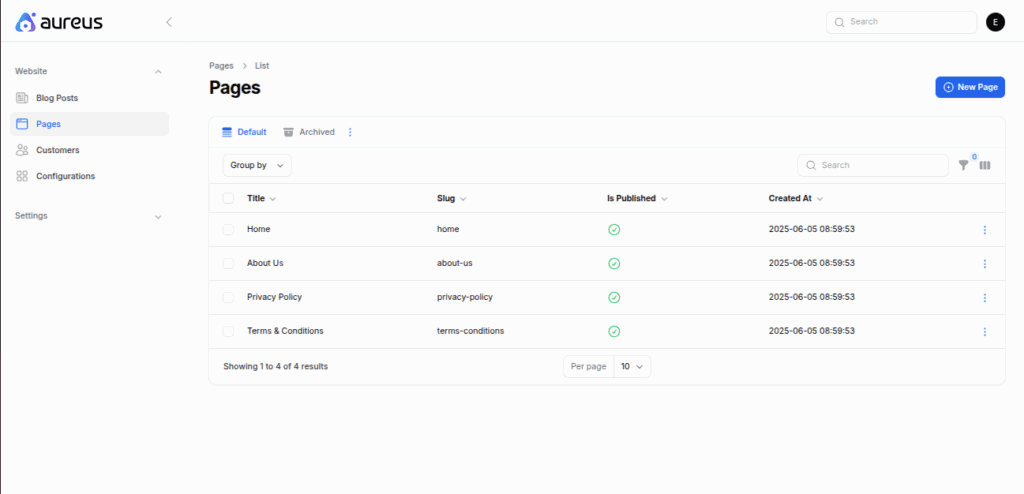
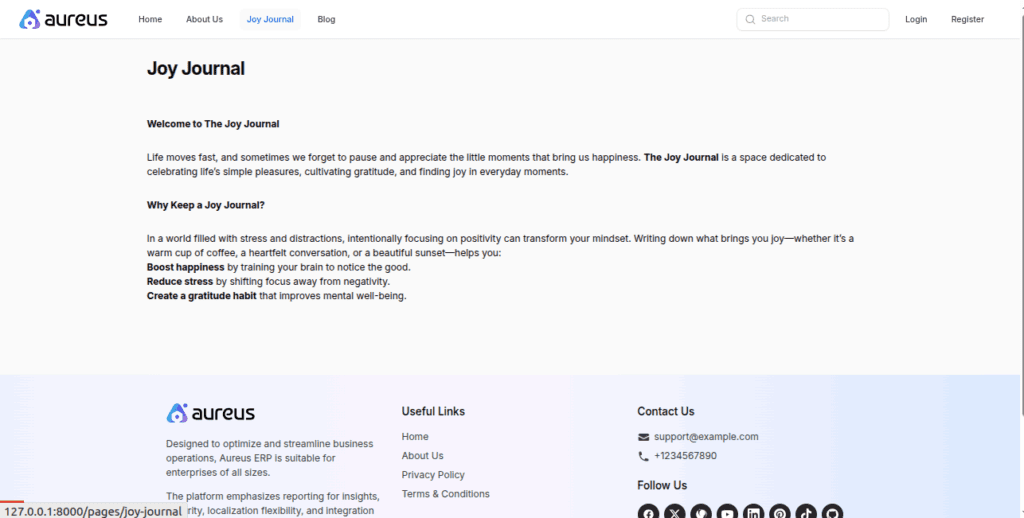
Publishing Your Page
After creating a page in Aureus ERP, you need to publish it so it becomes visible on your website.
Follow these steps:
Admin Panel >> Website >> Pages
Find the page you just created and click on “Edit”
Click the “Publish” button.
Once published, your page will be live and visible on the front page or the assigned menu, depending on your website settings.
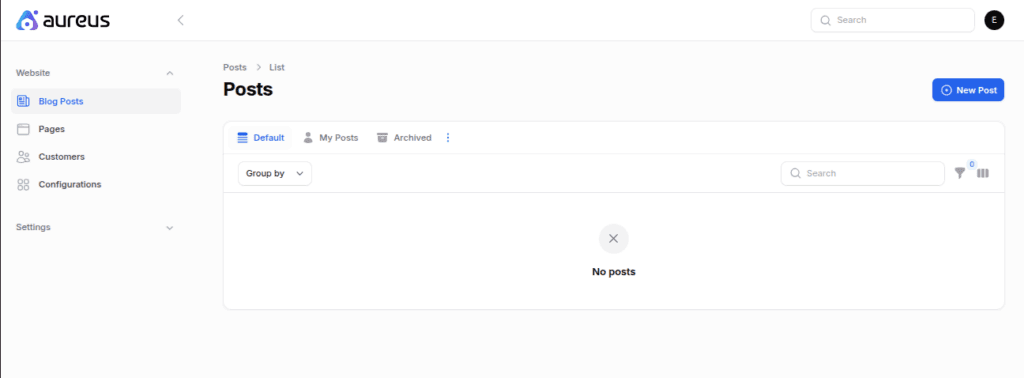
Create Blogs in Aureus ERP
Blogs in Aureus ERP let you share regular updates, news, articles, or tutorials directly on your website. They are a great way to connect with your audience, improve SEO, and keep your content fresh.
You can create, edit, and manage them easily through the admin panel.
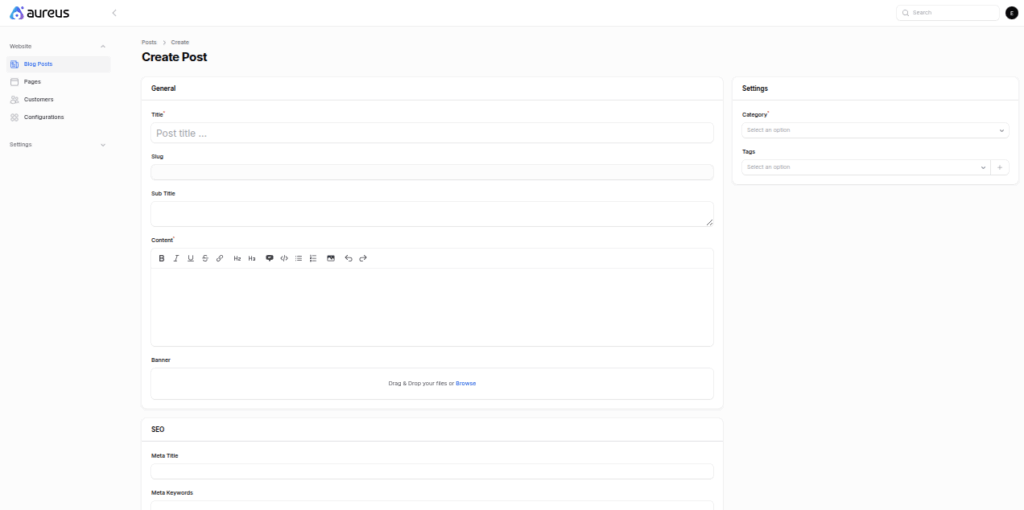
Website >> Blog Posts >> New Post
Fill in the blog details:
Title: Enter the name of your blog post.
Slug: A short, URL friendly version.
Sub Title: A short description.
Content: Write your blog content using the editor.
Banner: For Grabs attention, sets the mood.
Meta Title & Description: Useful for SEO.
Category: Choose the relevant category.
Tags: Add related tags to improve search and sorting.
Publishing Your Blog Post
After creating a blog post in Aureus ERP, you need to publish it so it appears on your website.
Follow these steps:
Admin Panel >> Website >>Blogs
Find the blog post you just created and click on “EditPost”.
Click the “Publish” button to make the blog post live.
Your post is now published and will be visible in the blog section of your website.
Conclusion
Aureus ERP makes it easy to manage your website by allowing you to create Pages and Blogs without any coding skills. Whether you’re sharing company news or service details, everything can be done from one place, quickly and efficiently.
With the built in tools for content creation, categories, tags, and publishing, your team can keep the website fresh and informative at all times.
In case you want to learn how to install Aureus ERP, please refer to the official installation guide or contact support for assistance.
Thanks for reading this blog.
Support
Please comment below if you have any questions
Hope it will be helpful for you, or if you have any issues, feel free to raise a ticket at our Support Portal


Be the first to comment.